Add new NDIS Participant
This guide walks you through adding a new NDIS participant in SuccessFlow, including personal and contact details, management type, billing information and document uploads.
- 1
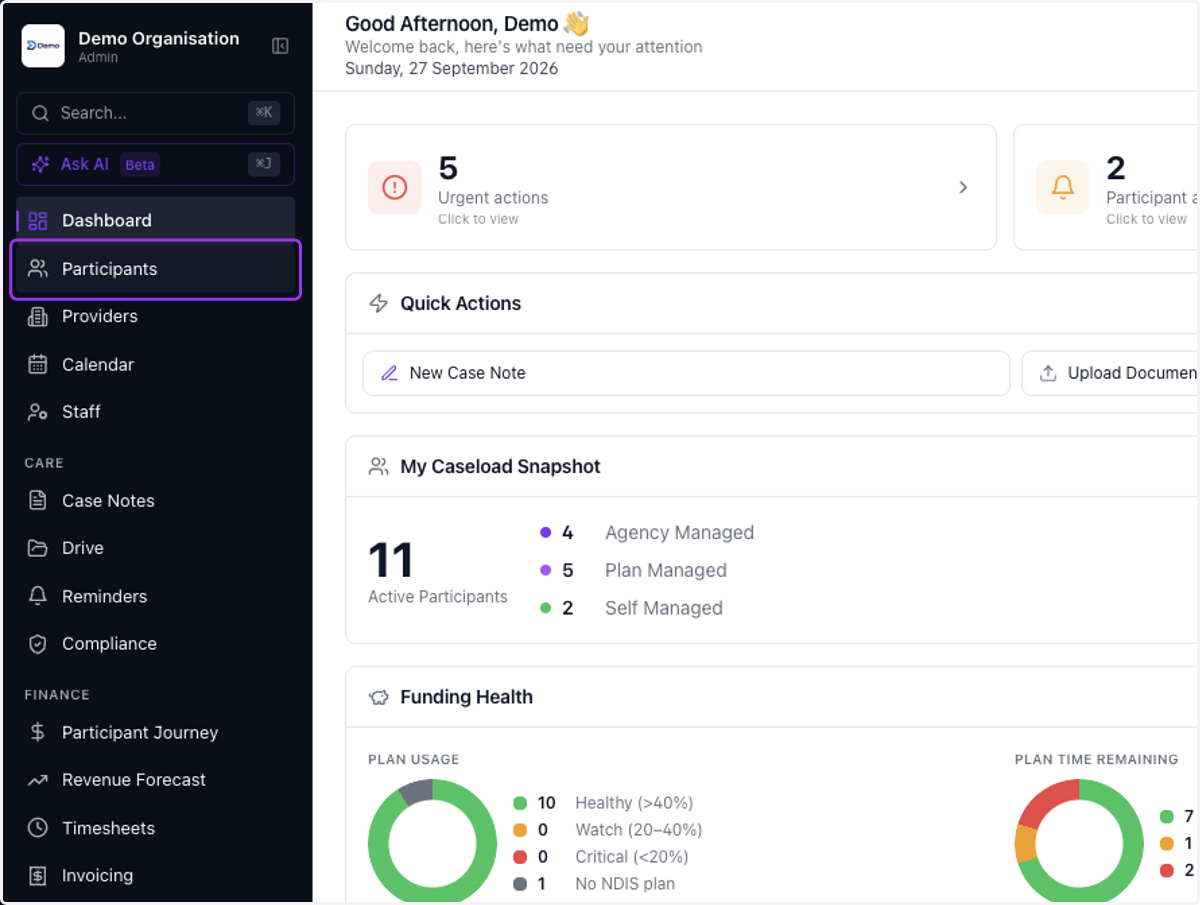
Click on Participants
- 2
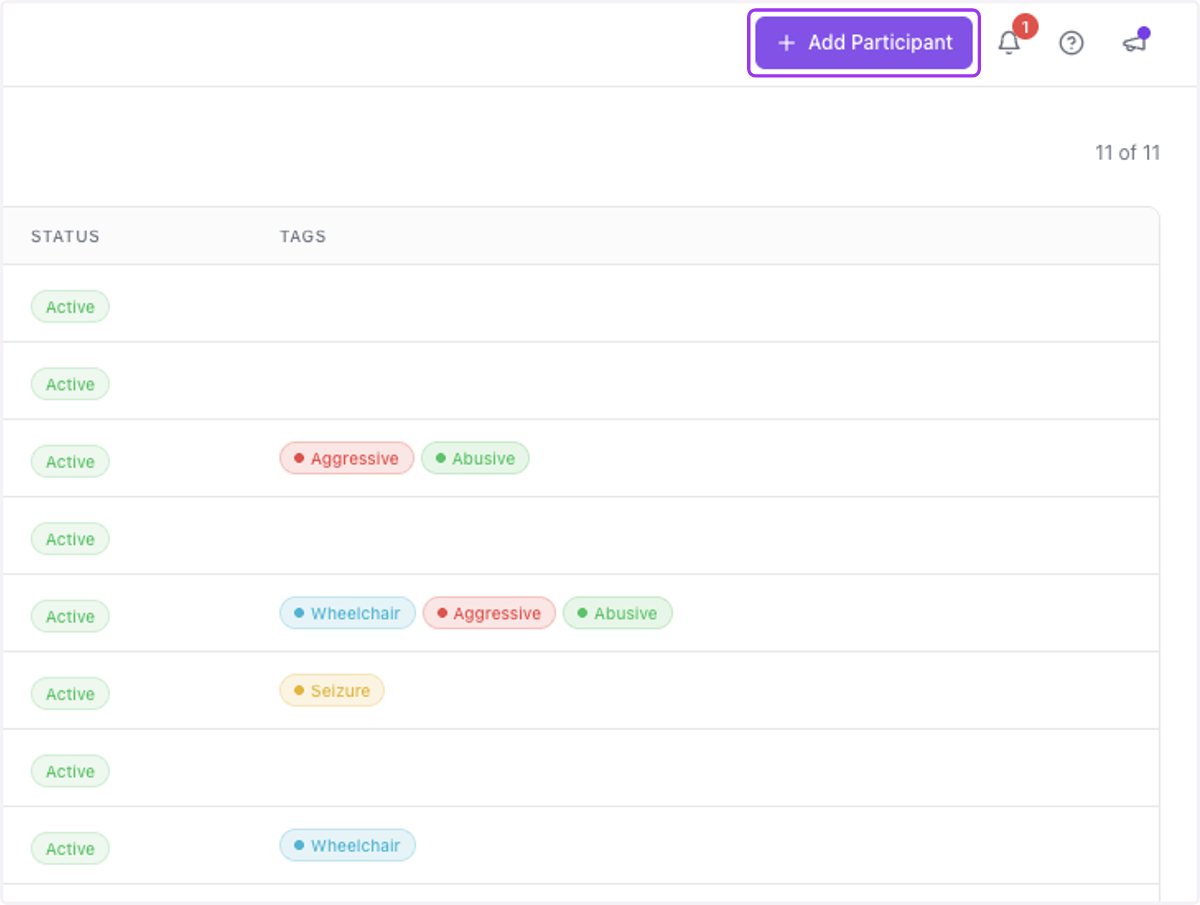
Click on Add Participant
- 3
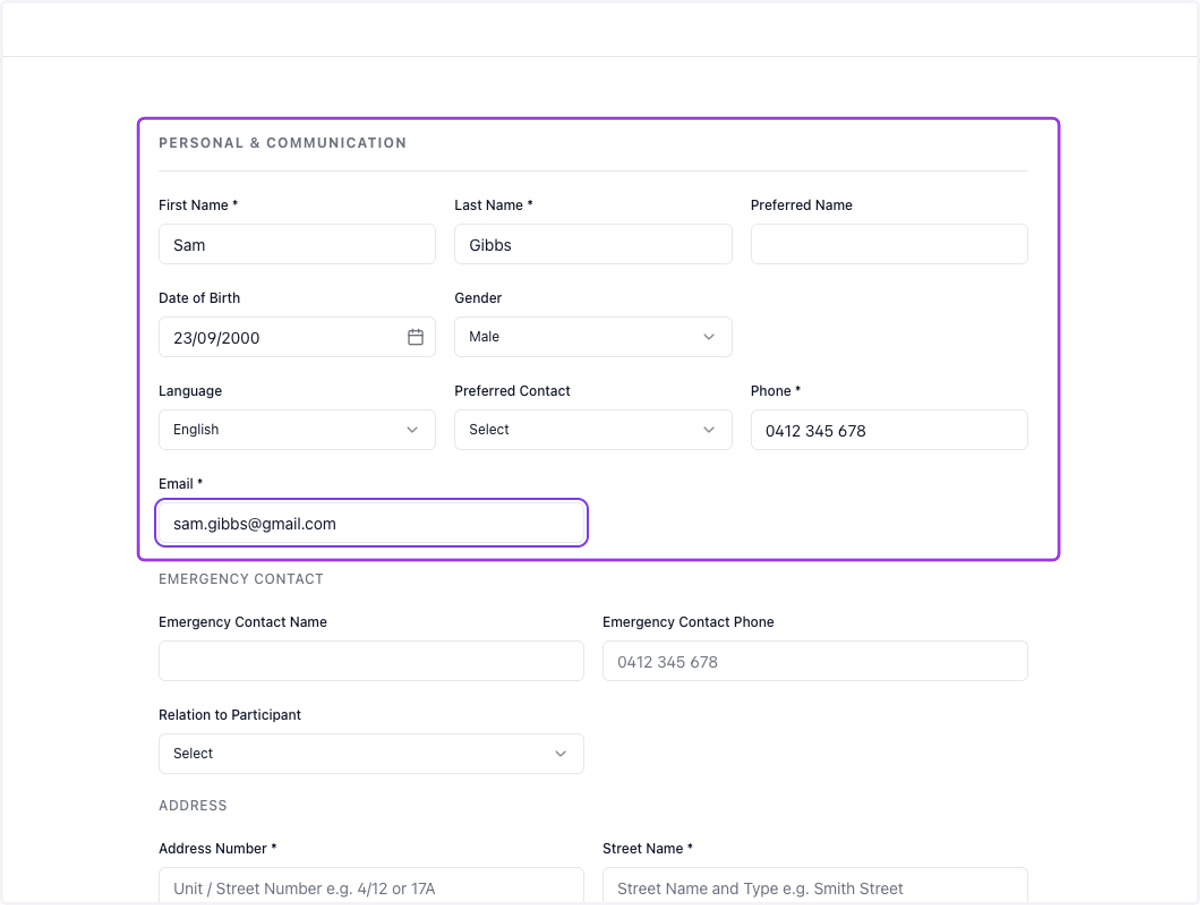
Add the Participant's Personal & Communication details
Add the new participant's personal and communication details. Make sure to complete all required fields, including First Name, Last Name, Phone and Email.
- 4
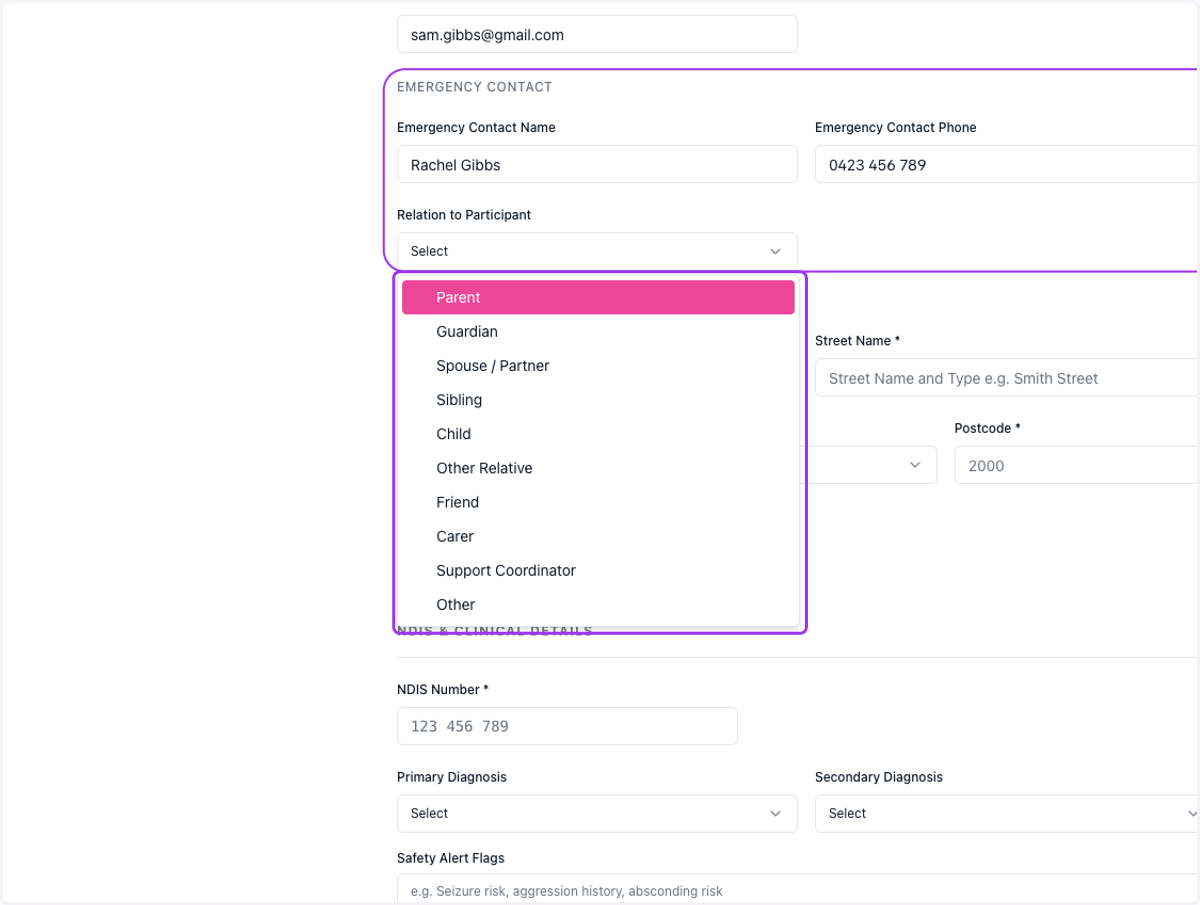
(Optional) Add Emergency Contact details
Add the new participant's emergency contact details. You may enter an Emergency Contact Name and Phone number, and select their Relation to Participant from the dropdown. These are all optional fields.
- 5
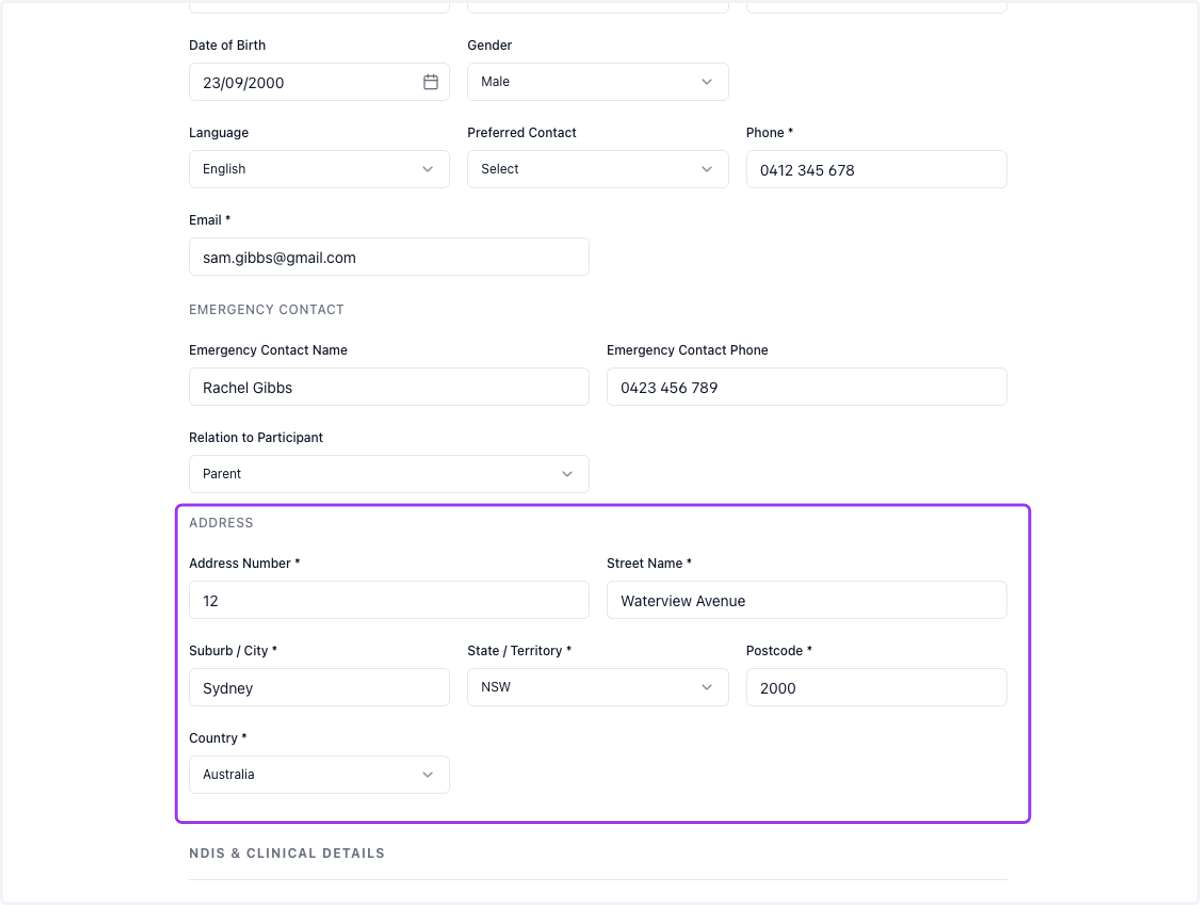
Add the Participant's Address
Add the participant's Australian address. Make sure to complete all required fields, including Address Number, Street Name, Suburb/City, State/Territory and Postcode.
- 6
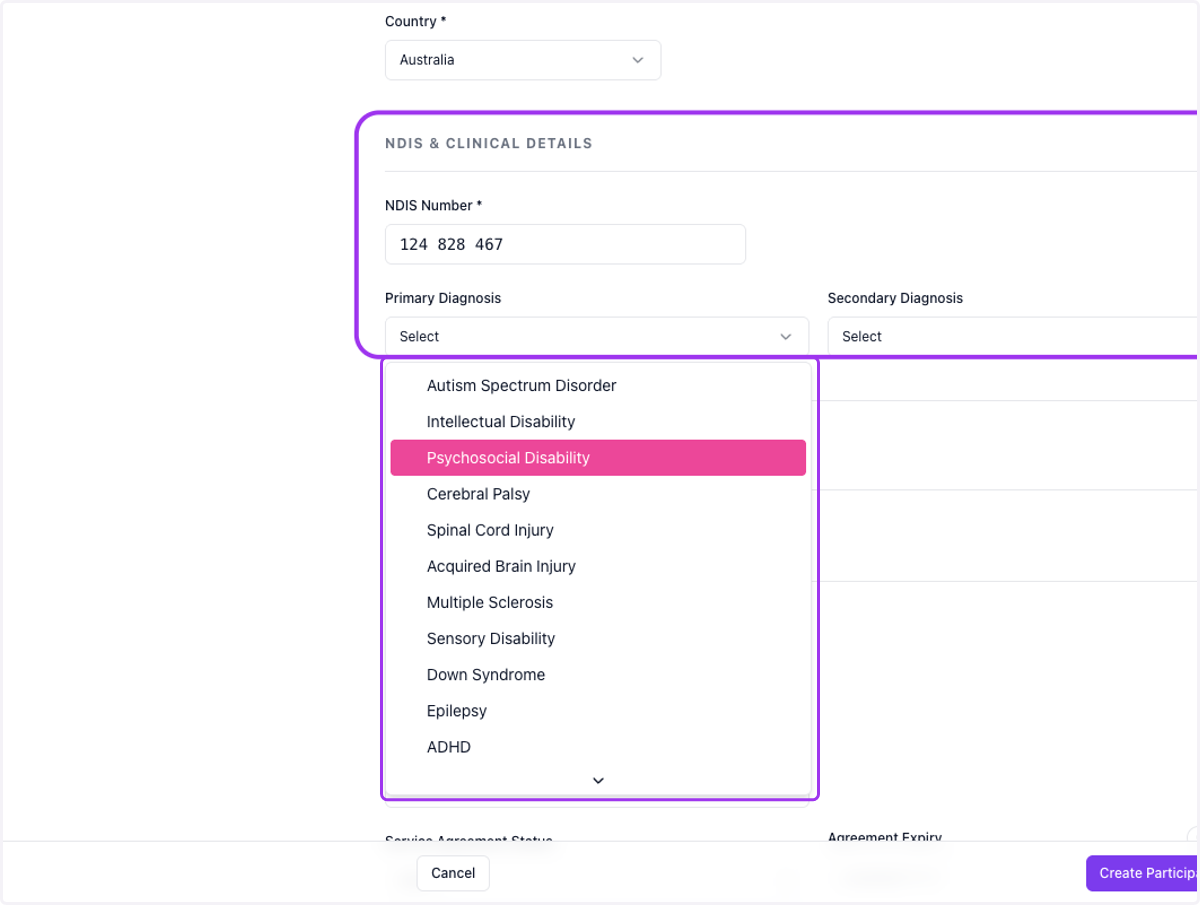
Add the Participant's NDIS & Clinical Details
Add the new participant's NDIS Number; this is a mandatory field. You may also select their Primary Diagnosis and Secondary Diagnosis from the dropdown, which is optional.
- 7
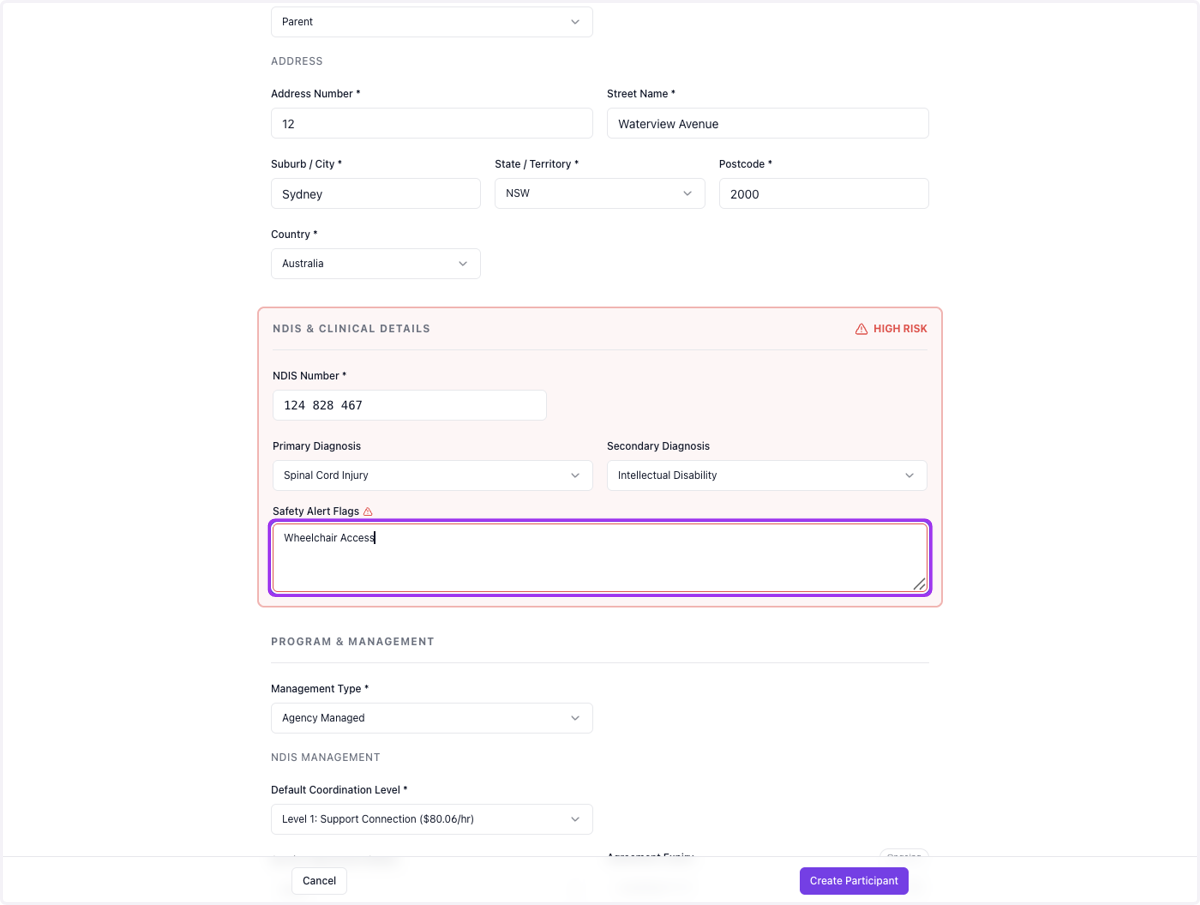
(Optional) Add Safety Alert Flags
You may choose to add Safety Alert Flags for the new participant if they are high risk. These will only be shown on their page for you to view; they will not appear on any administrative documents, including billings or new service agreements.
- 8
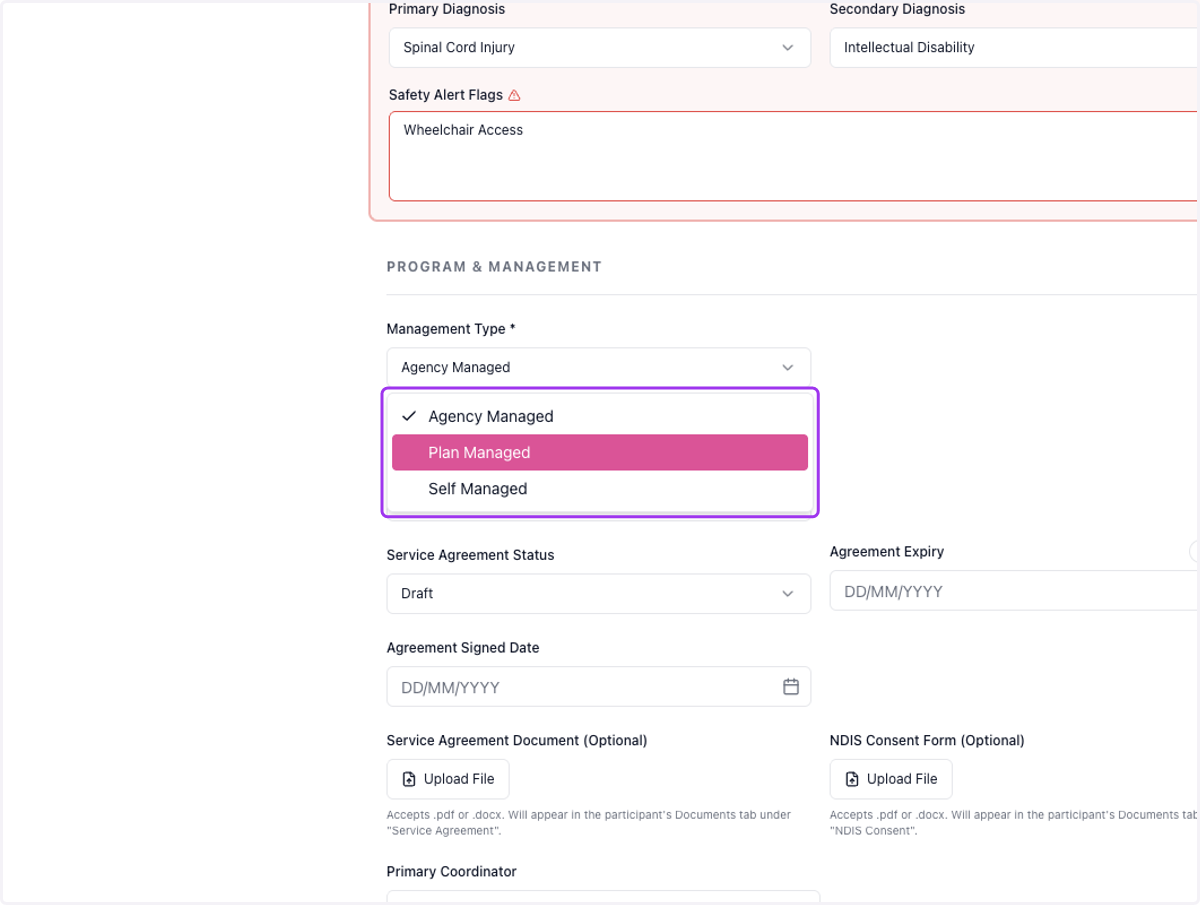
Select Management Type
Select a Management Type for the new participant from the dropdown: Agency Managed, Plan Managed or Self Managed. This information will be used for invoicing this participant.
- 9
If Management Type is Plan Managed
If the management type is Plan Managed, select an organisation for billing from the dropdown or create a new organisation.

- 10
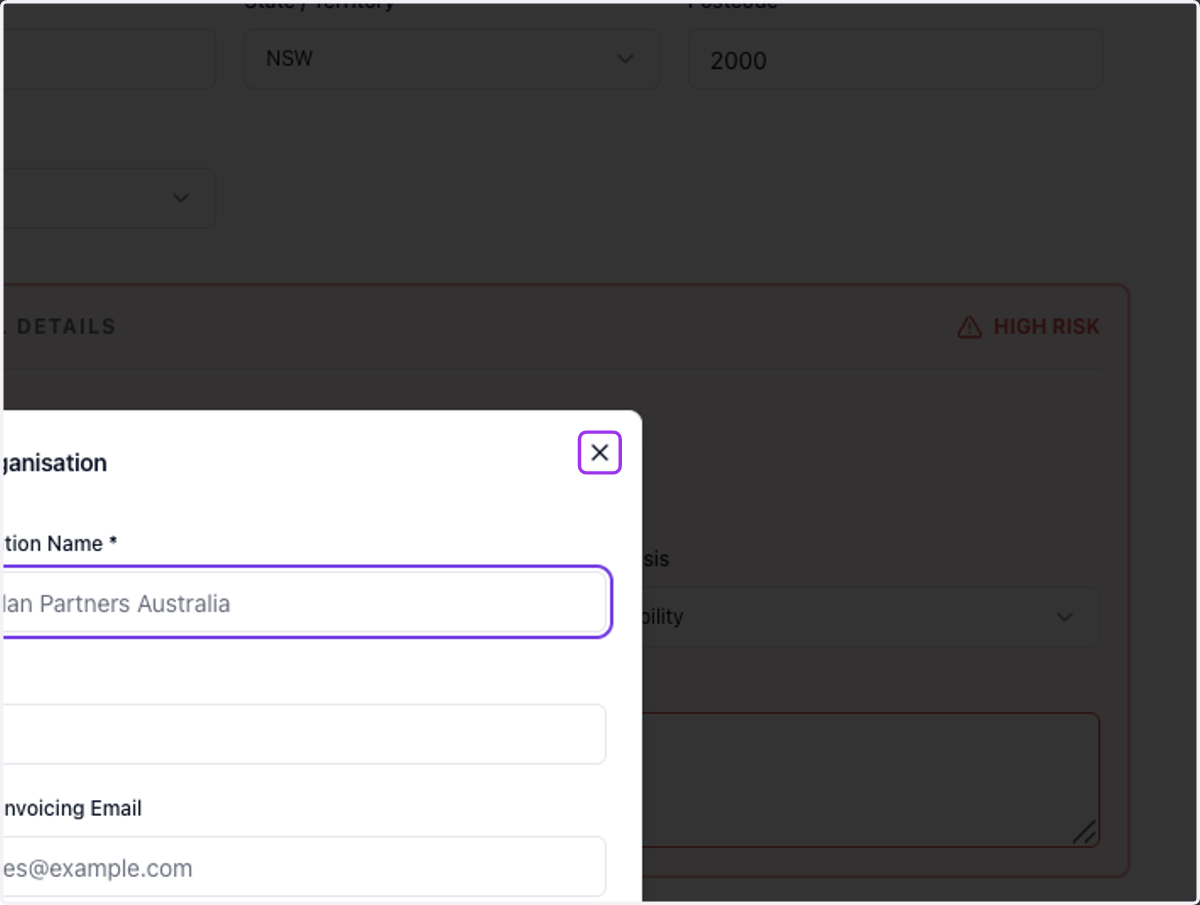
(Optional) Create a new Organisation for billing
If the management type is Plan Managed, you may choose to create a new organisation here for billing purposes.
- 11
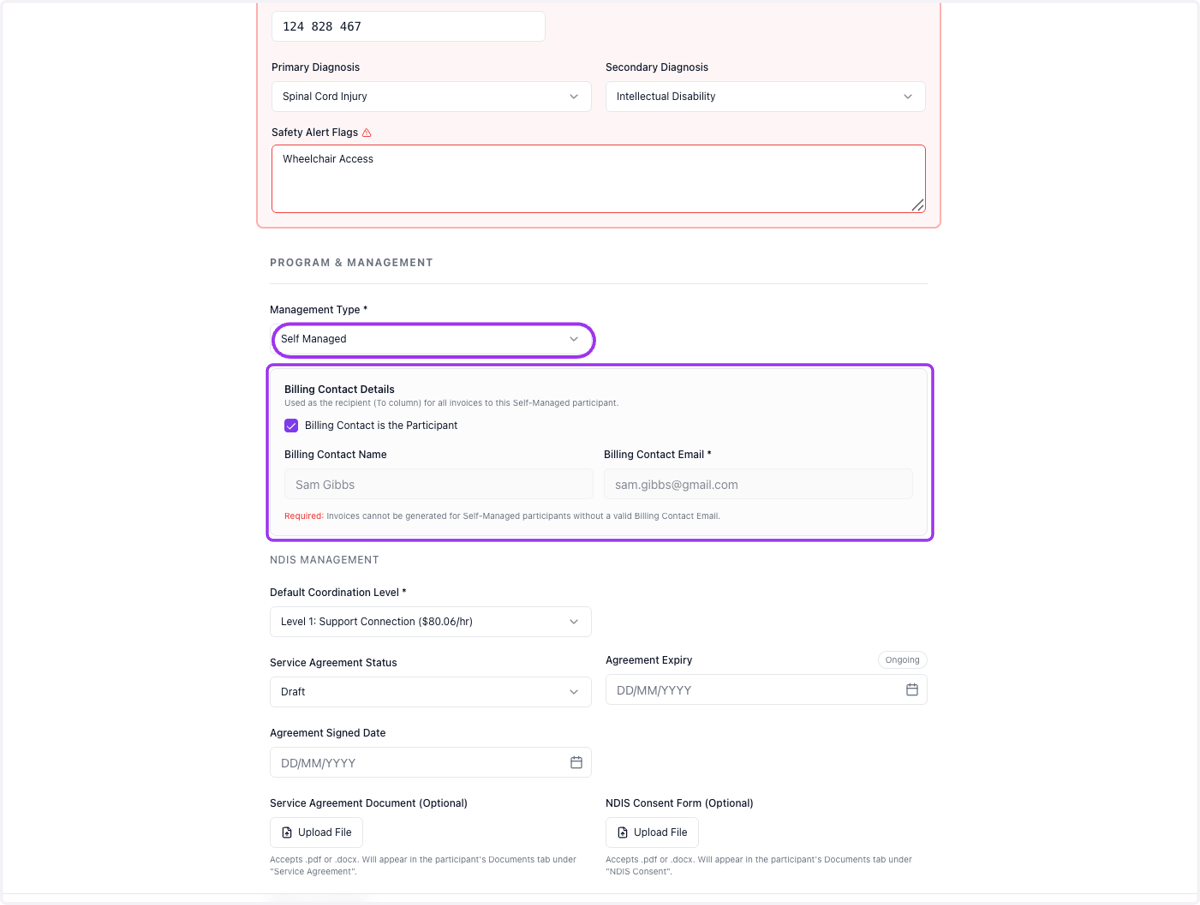
If Management Type is Self Managed
If the management type is Self Managed, enter the Billing Contact Name and Email, or select the option Billing Contact is the Participant to pre-populate this with the participant's details.
- 12
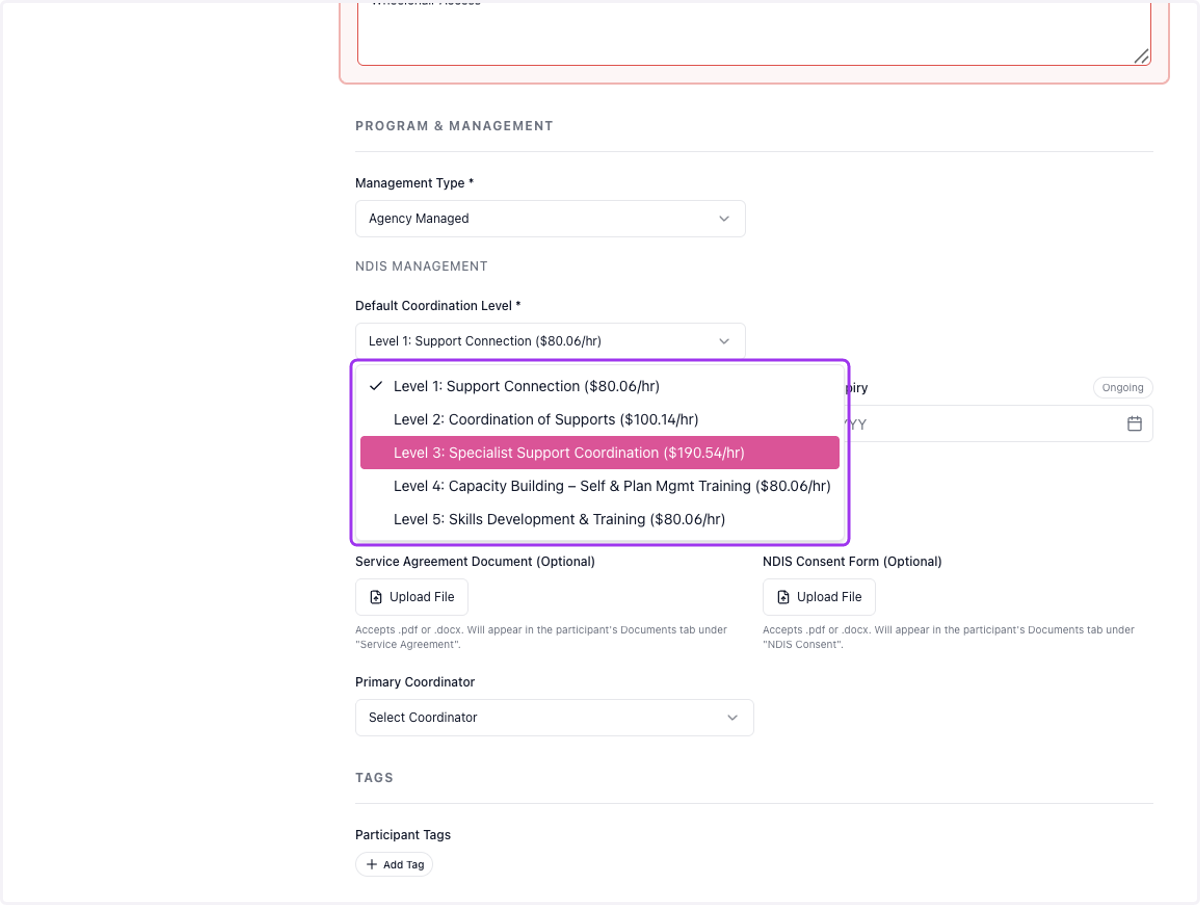
Select the Default Coordination Level
Select a Default Coordination Level for this participant from the dropdown. The option selected will pre-fill the values for billing based on the level of support offered.
- 13
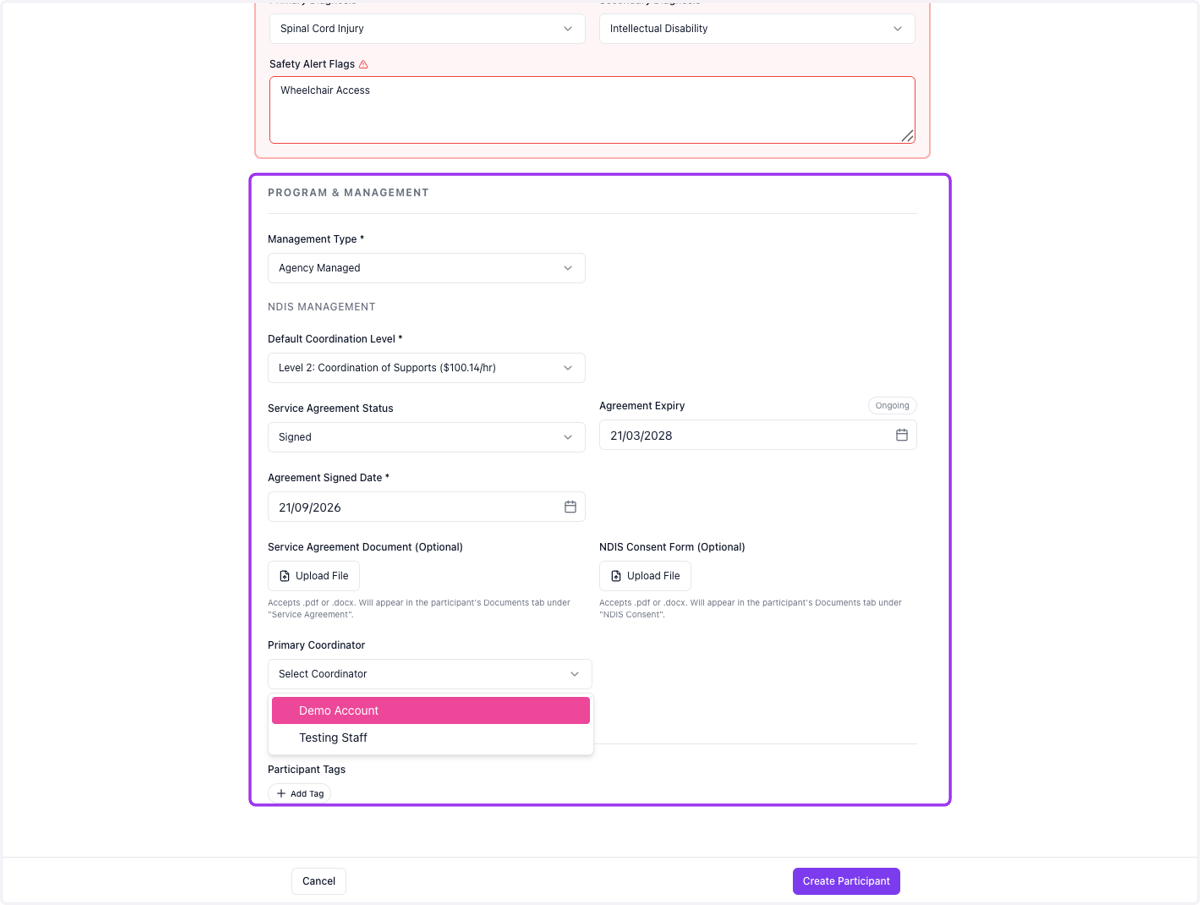
Complete Program & Management
Complete the Program & Management section for the new participant (optional). Enter the Service Agreement Status, Expiry and Agreement Signed Date (mandatory). You may choose to upload the service agreement and/or NDIS consent form here for the participant. Select the Primary Coordinator for the participant; these will be your staff members who have the role of an Admin or Support Coordinator.
- 14
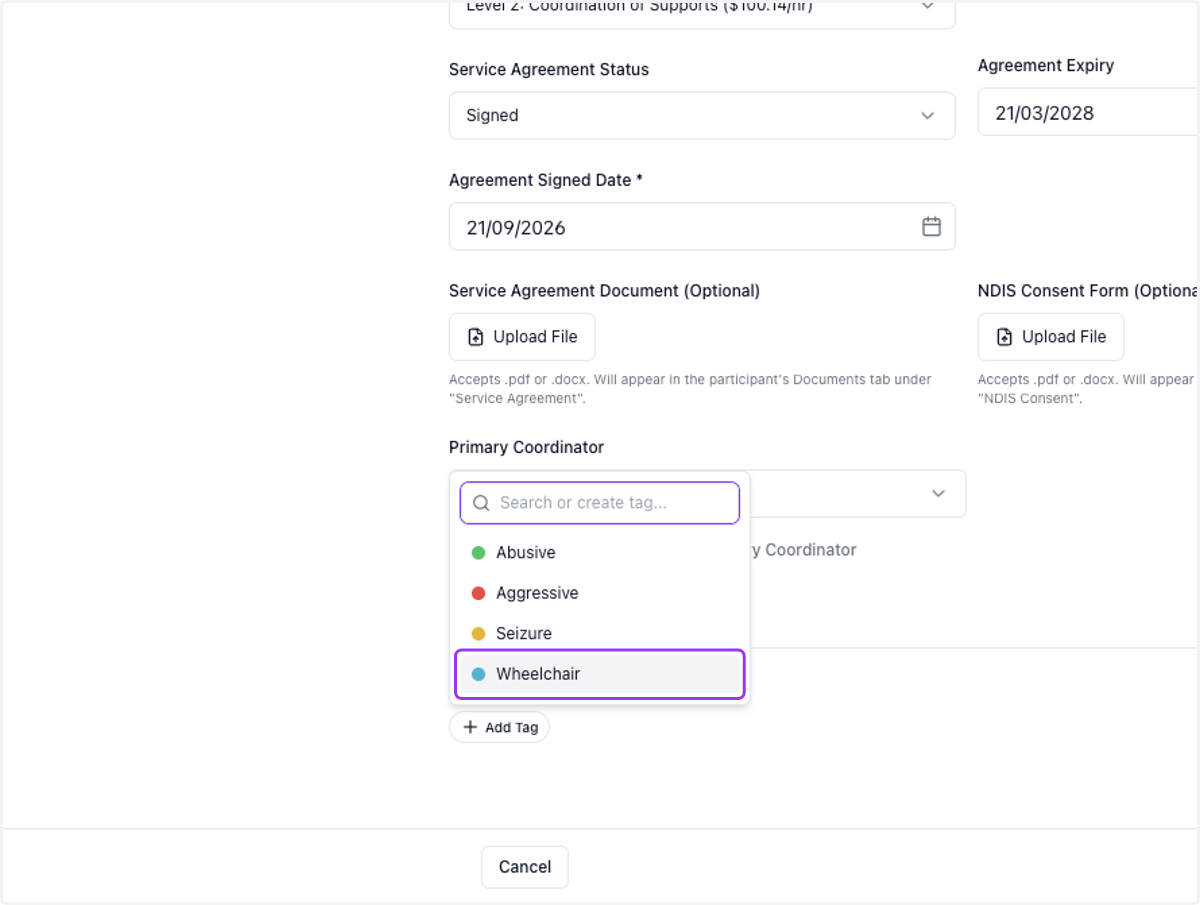
(Optional) Add Tags
You may choose to add Tags for this participant. These will only be shown to SuccessFlow users and are not used in any administrative documents, such as billing or service agreements.
- 15
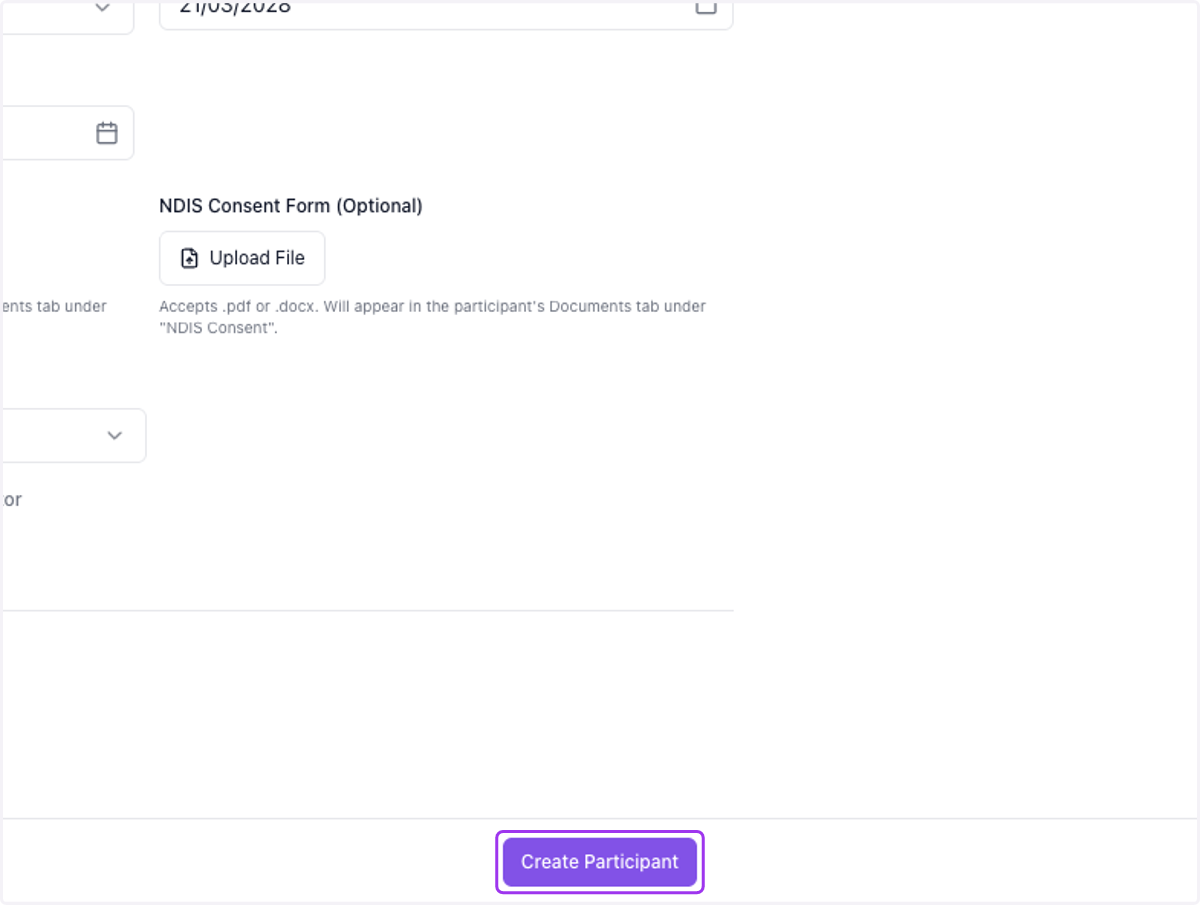
Click on Create Participant to finish
- 16
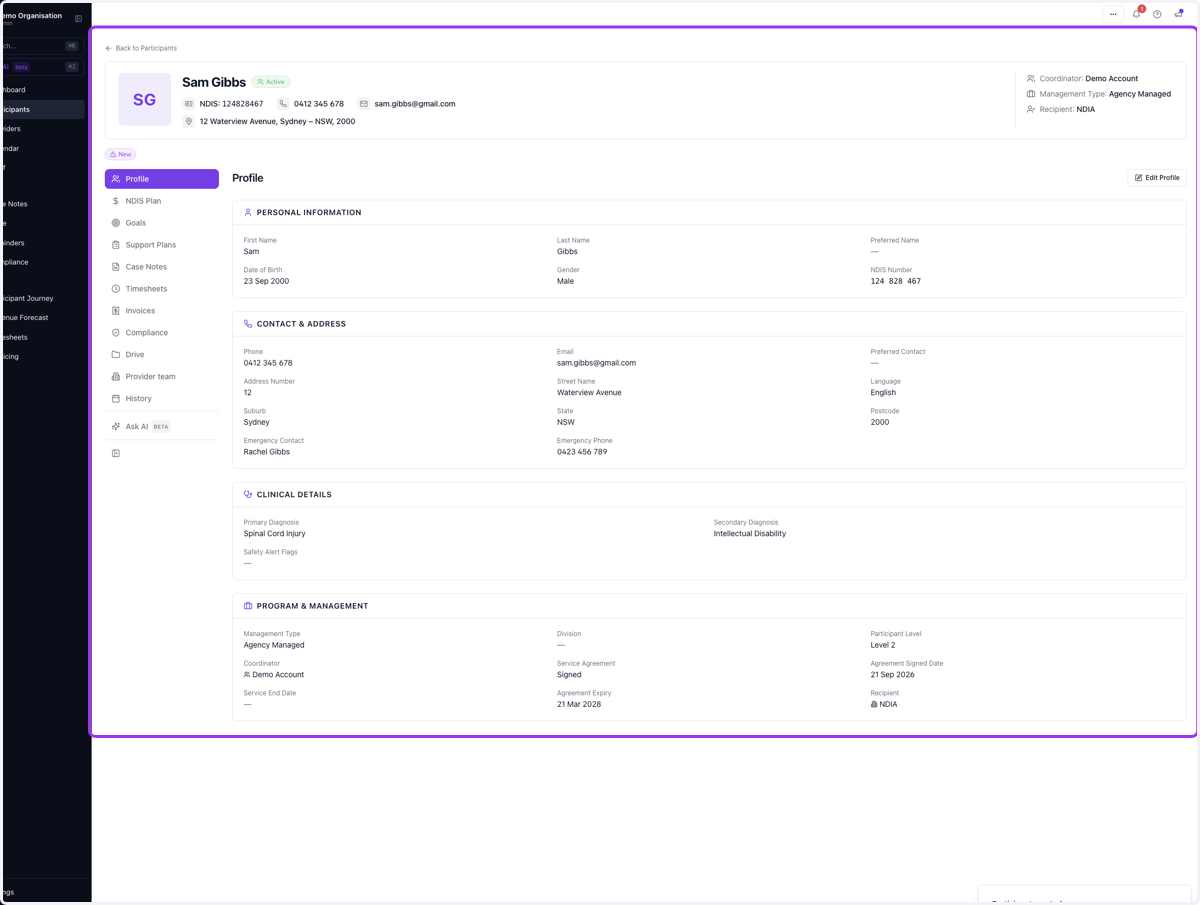
You'll be taken to your new Participant's page
You've now successfully created a new participant. All information entered will be populated on the profile page, and you can find uploaded documents on the Drive page.